How to start composting at home for beginners
Composting is a cost-effective way of providing the best nutrients for your plants, while reducing your carbon footprint. If you’re new to the world of compost, check out our guide to composting at home for beginners.
What are the benefits of composting?
Composting is a natural way of bio-degrading waste and turning it into a nutrient rich food for your soil, eradicating the need for chemical fertilizers. By breaking down organic household materials in the compost, you are diminishing a portion of waste that would be sent to a landfill, lowering both your carbon footprint and greenhouse gas emissions. As well as combating plant diseases, composting helps add extra moisture to the soil, so you won’t need to water your plants as often!
1. Set up a compost bin.
Compost bins are easy to find, and often come in sustainable options made from 100 percent recycled plastic. Garden and hardware supply stores generally have a wide range of bins available, in varying sizes and shapes. Having a tight lid will stop neighbourhood pests from breaking into your bin and creating a mess!
For efficient composting to take place, you need to place the bin in the best spot to help the process along and provide a functional habitat for microorganisms to break down the waste. Your compost bin should be placed in an area sheltered from the wind and rain, while getting just enough sun. Placing your compost bin on concrete defeats the purpose – worms need to be able to access the bin through the holes in the bottom to help with aeration.
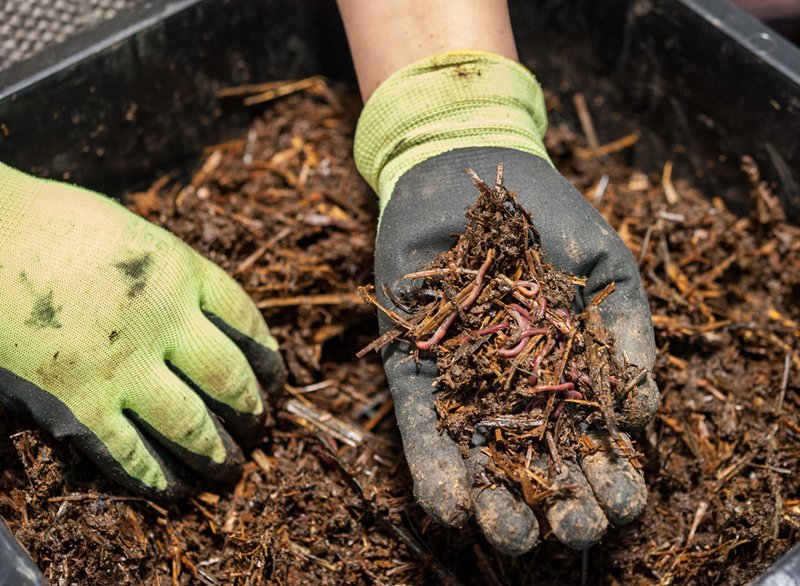 Make sure your bin is on soft soil so that worms can crawl in and aerate the compost.
2. Layer the correct waste into the bin.
A compost bin isn’t an alternative to a trash can – you need to ensure you’re only putting the correct waste into the bin. For composting to take place, you need a mix of matter that release carbon and nitrogen when broken down. These are referred to as brown waste and green waste, with brown waste being dry, carbon-based materials, and green being fresh or moist matter.
Brown waste includes:
- Leaves and sticks.
- Straw or hay.
- Newspaper.
- Egg shells.
- Tea bags.
Any wood that is placed in the compost bin should not be treated, and be thin enough to be broken down.
Green waste is made up of:
- Vegetable and fruit peels.
- Manure.
- Hedge or lawn clippings.
While the rules of compost are pretty relaxed, there are some definite items to omit if you want to avoid lacing your natural fertilizer with damaging ingredients. Prohibited items include meat and bones, fire ashes and processed or treated wood. Meat attracts maggots and pests, while ashes make the soil acidic with sulphur and can damage your plants.
Stack your brown and green materials in layers no thicker than 10 centimetres, and moisten dry materials with a mist of water as you put them in the bin. As you add more matter, turn over the existing layers and bury your fruit and vegetable waste deep within the compost.

Composting helps add extra moisture to the soil, so you won’t need to water your plants as often.
3. Now, we wait!
Good things come to those who wait – the same goes for compost. Provided you have been actively composting and turning over the mix every couple of weeks, your natural fertilizer will generally be ready around six to eight weeks after you’ve set up your bin. Summer speeds up the composting process due to the heat, while the cool winter air slows it down. The compost should look dark and have the consistency of a damp sponge. Mix through the compost before use and ensure that it is not too hot when you apply it to the garden – excess heat can harm your plants.


